A real timeline, and the posting done for you.
Cut on tracks with keyframes, colour, masks and effects, keep your own templates, hand the repetitive changes to the AI, and send the render to every network without downloading it first.
From footage to posted
The whole job in one place, from the first cut to the post.
Bring in the footage
Upload whole folders and they keep their structure. Every clip is described and what is said is written down, so you can search the library by what is in it.
Cut it on the timeline
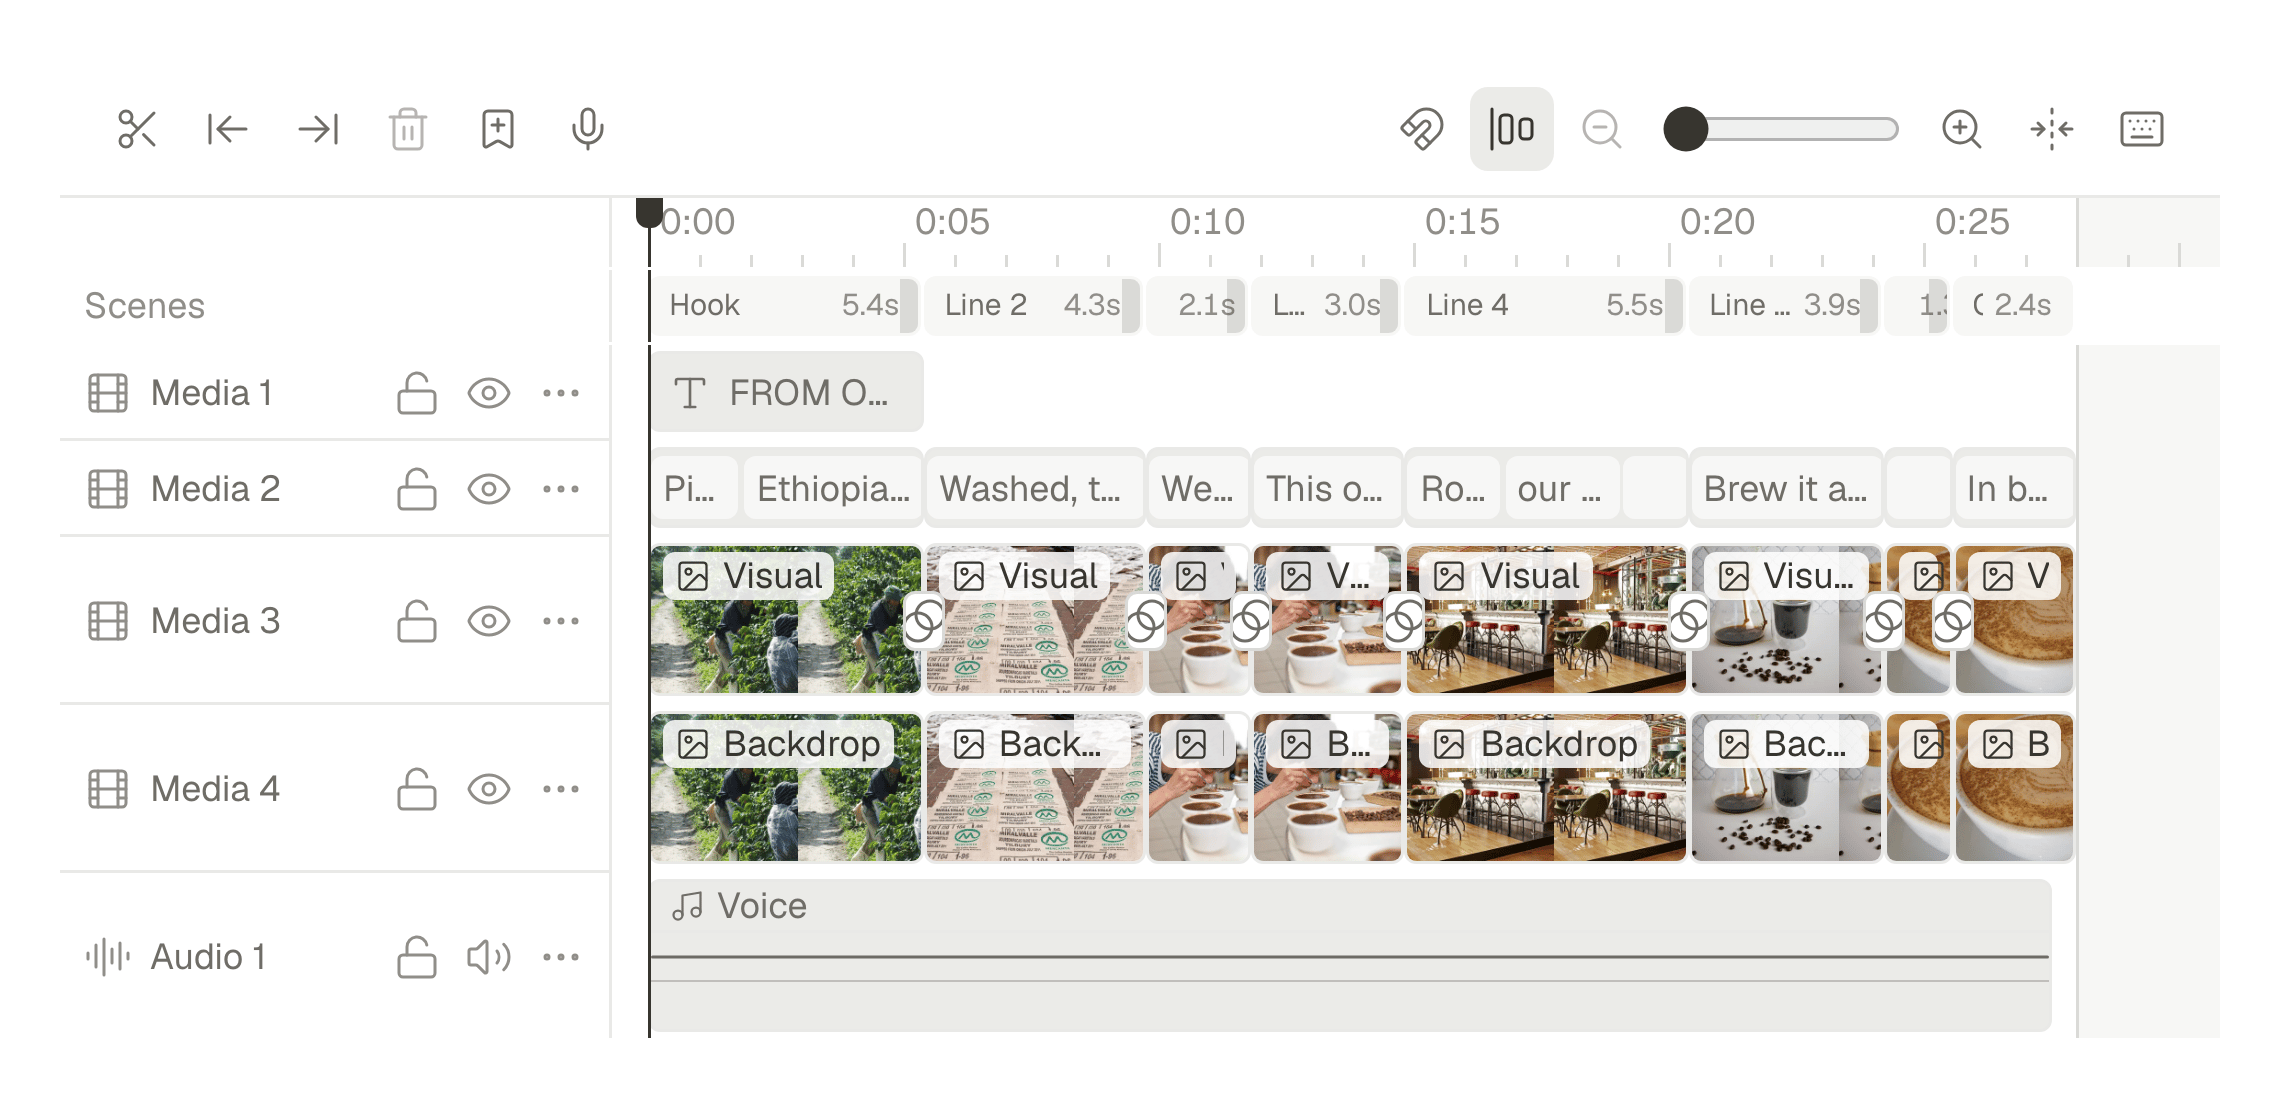
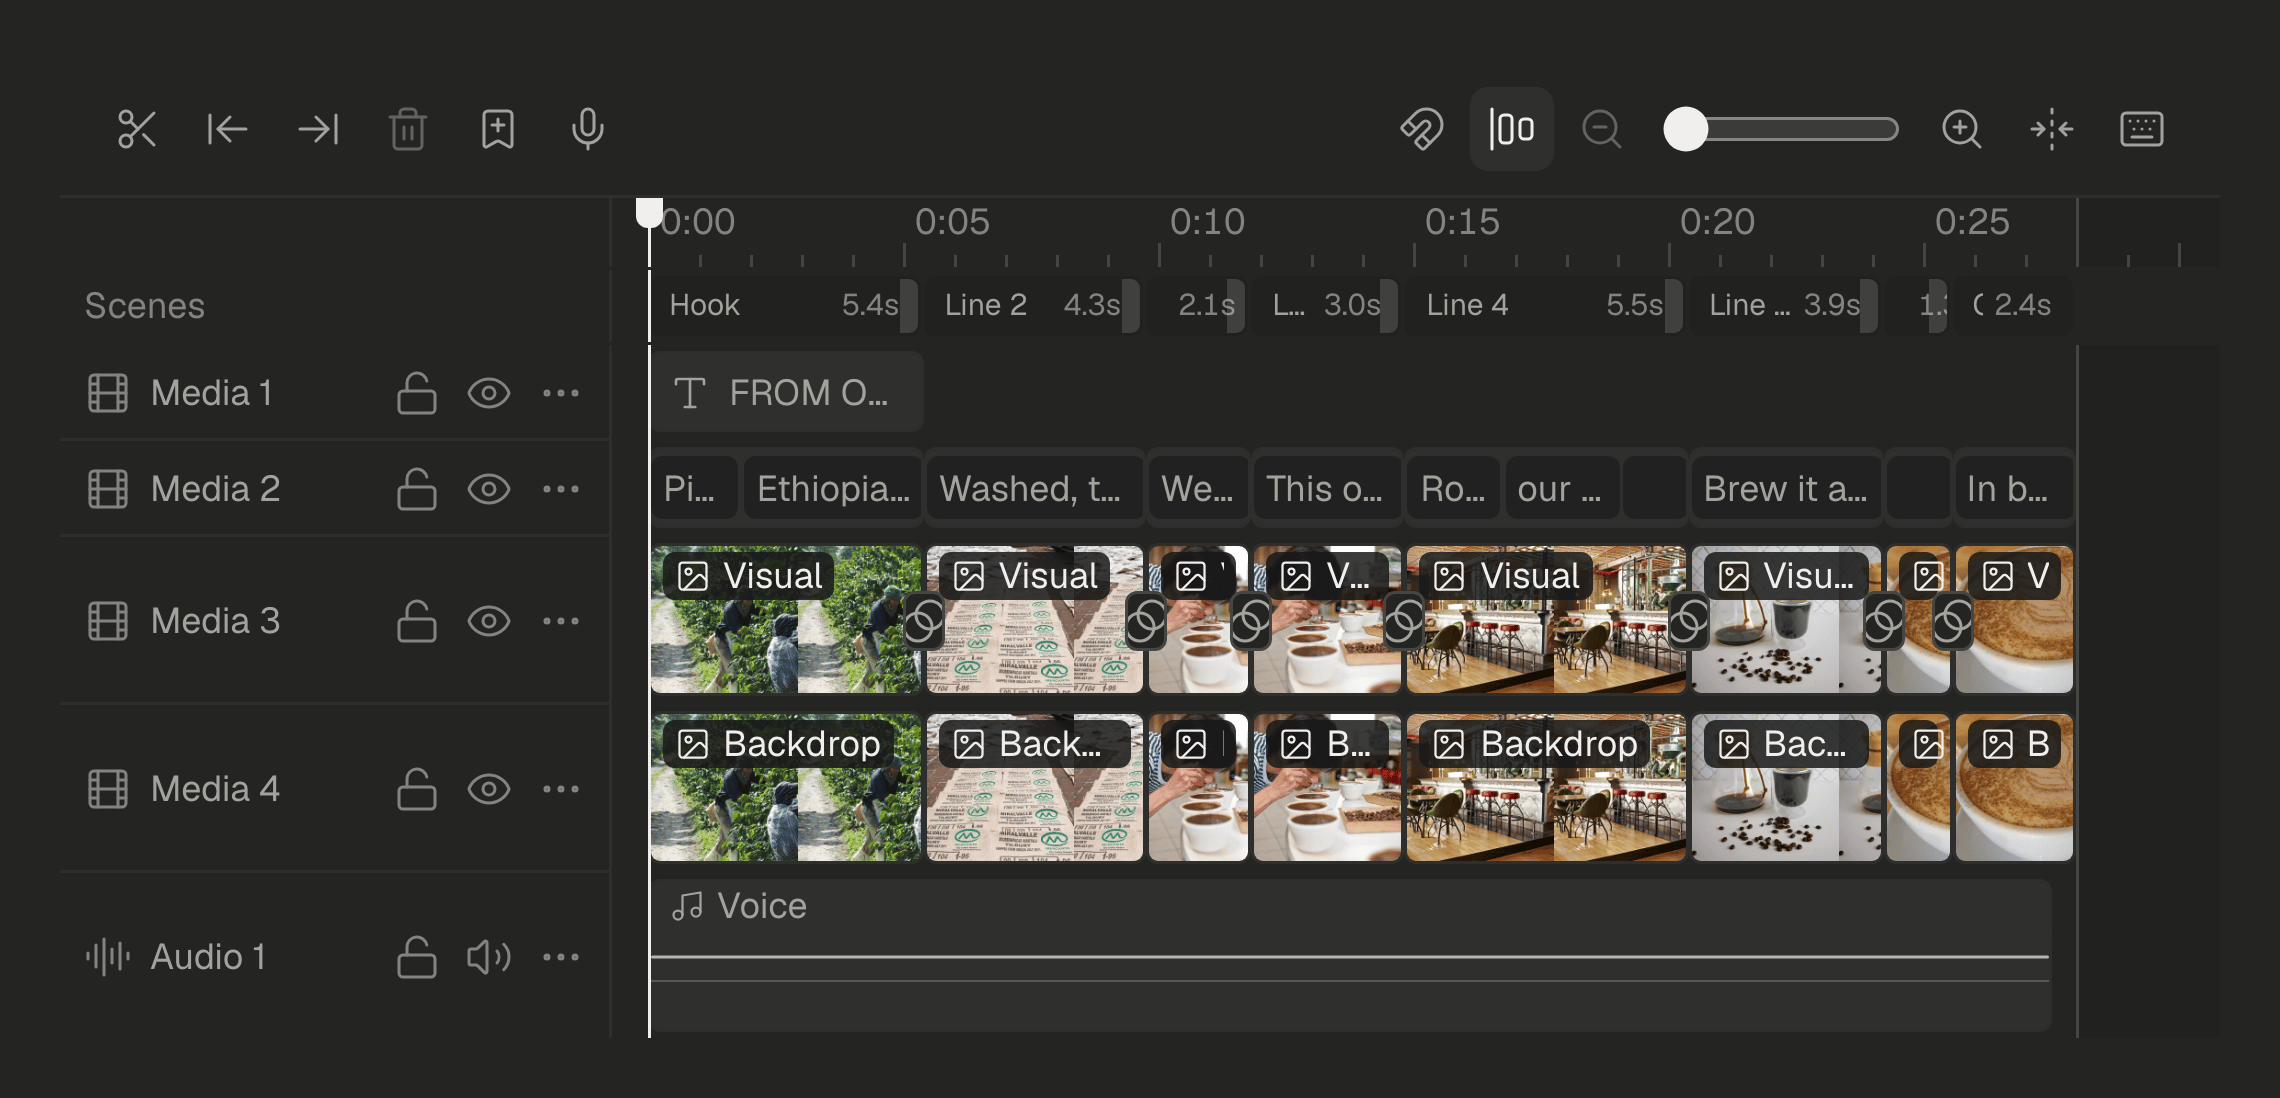
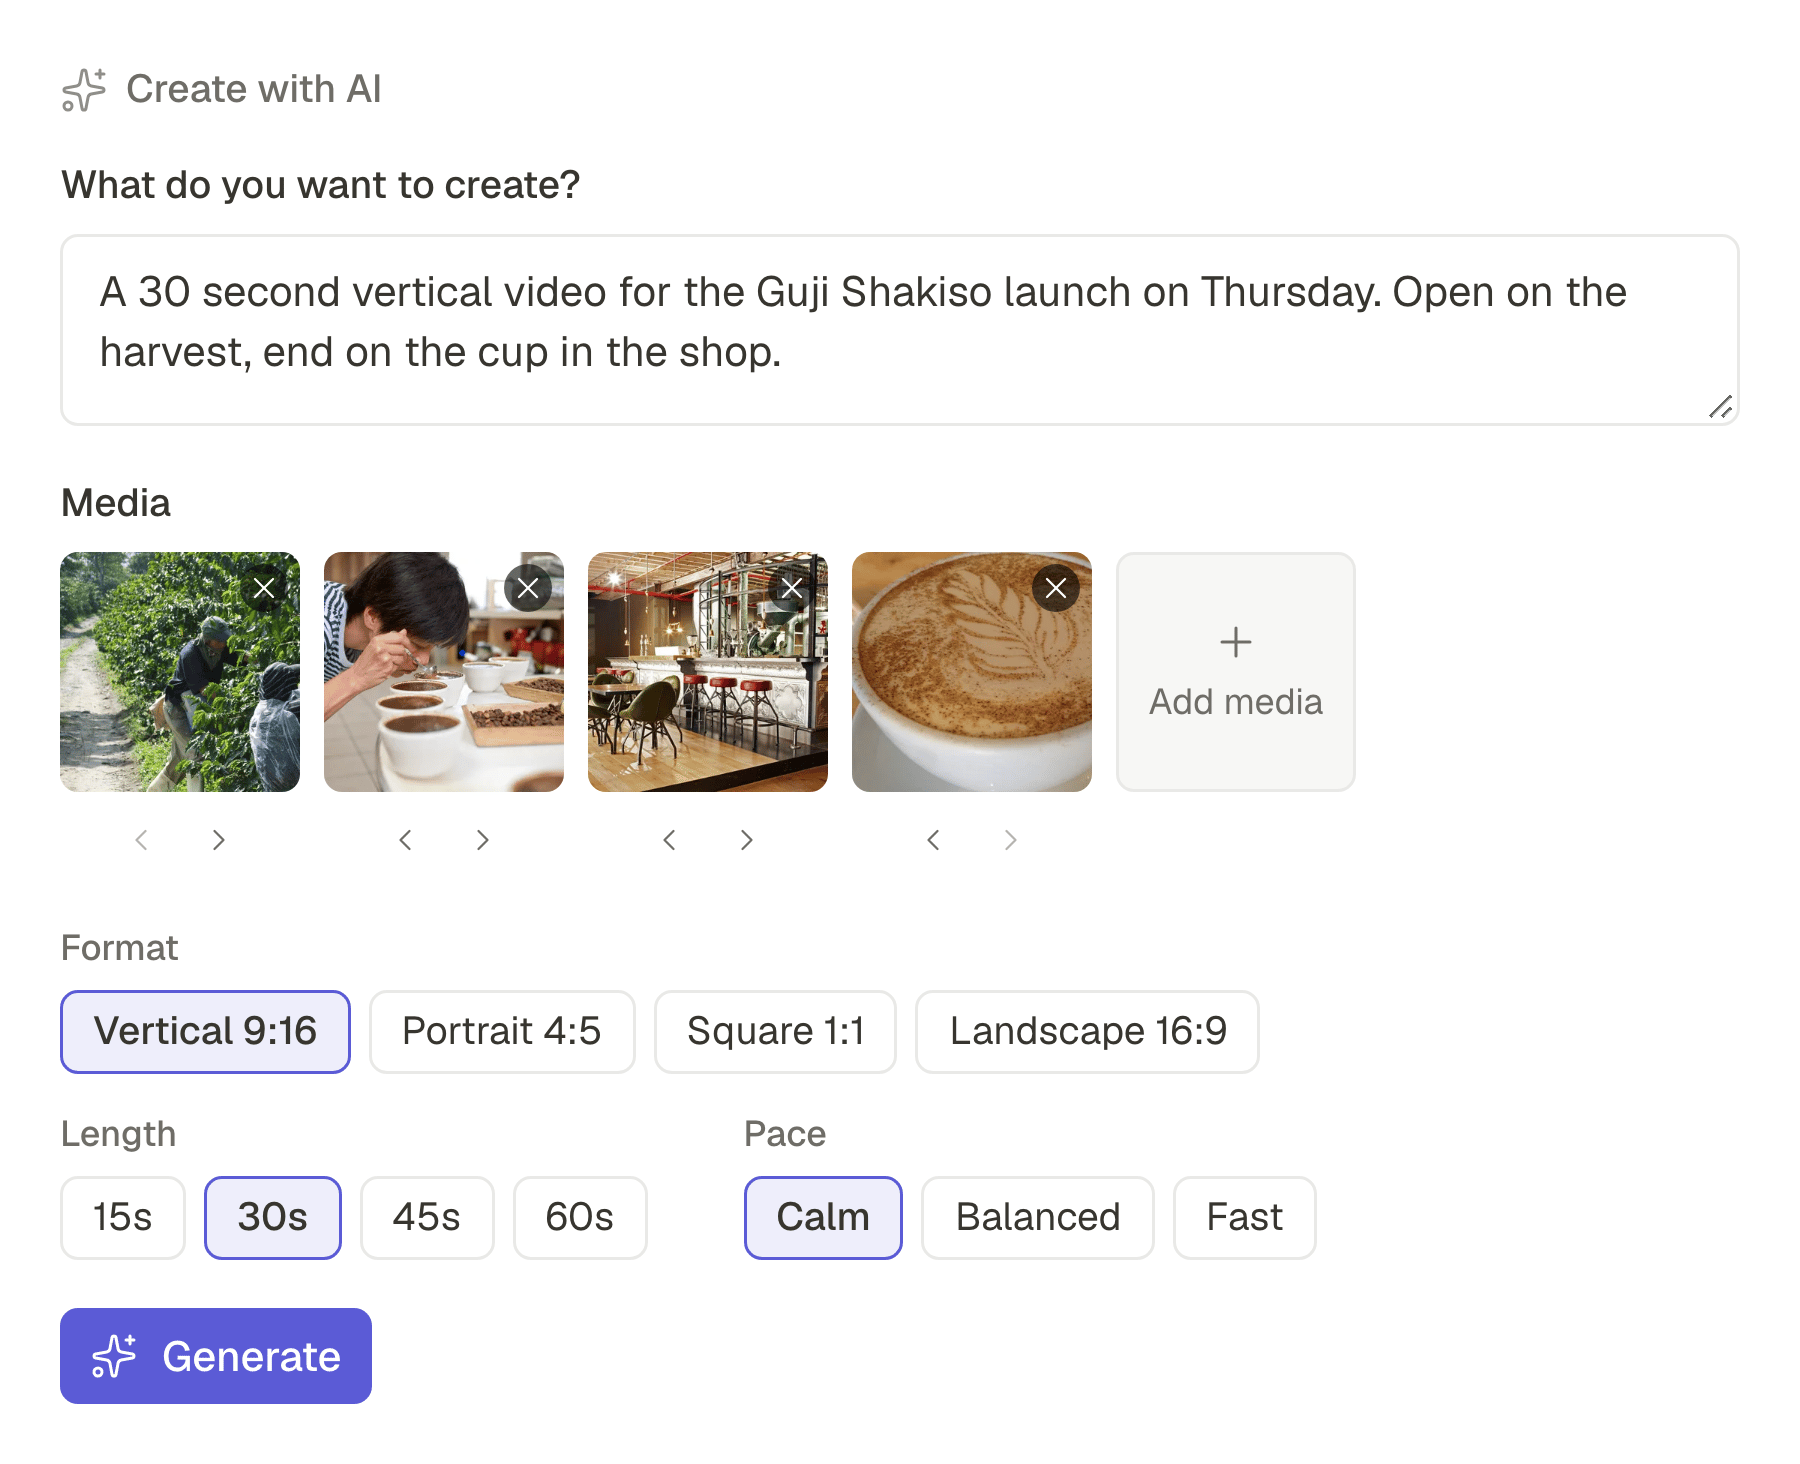
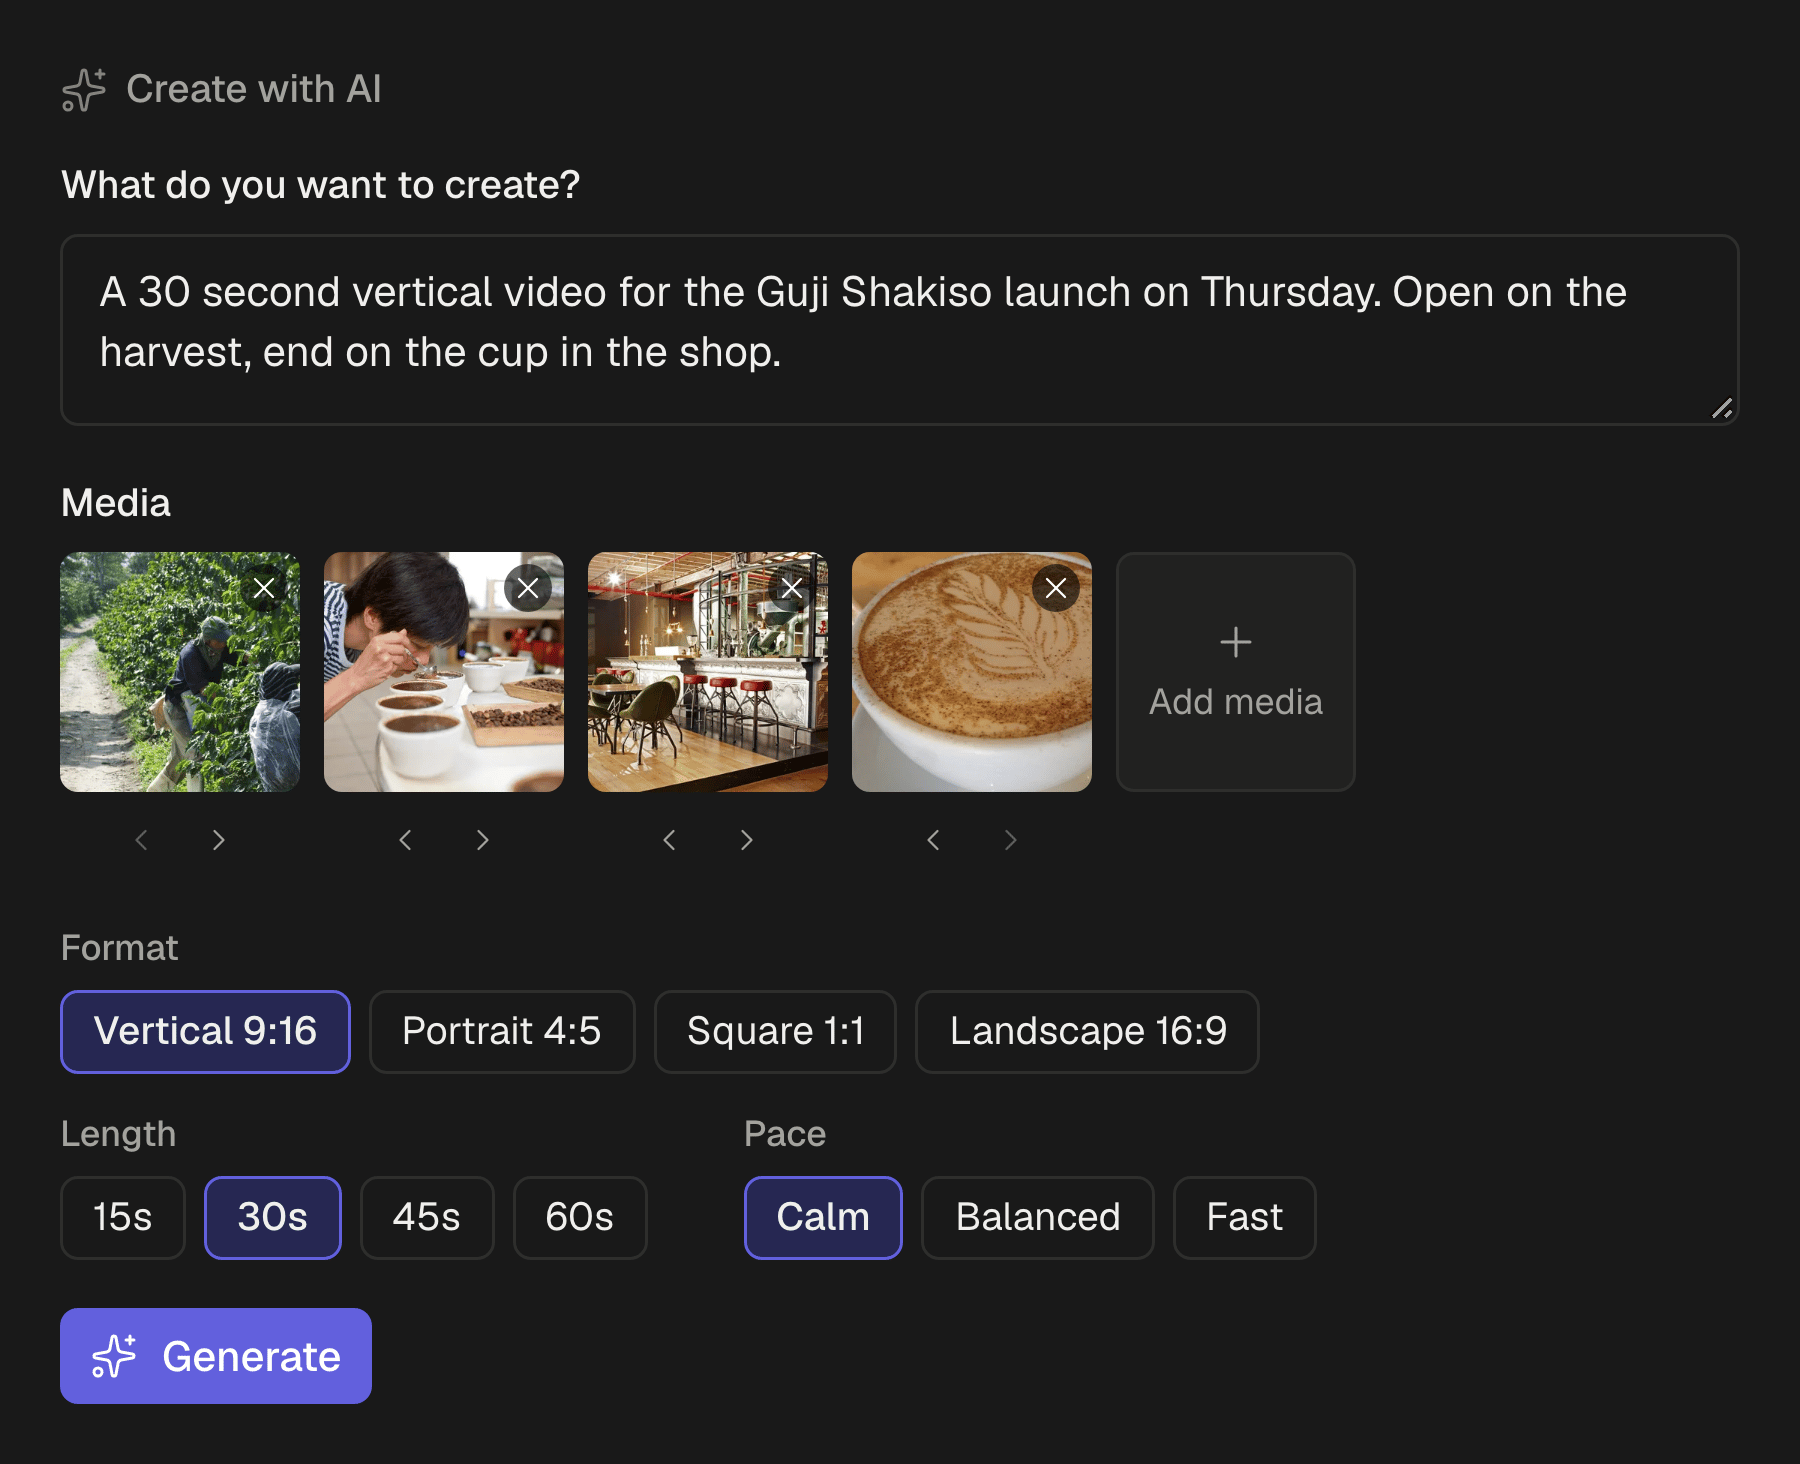
Tracks, a magnetic main track, keyframes, speed curves, transitions, colour and masks. Or ask the AI for a first cut from a brief and your footage, and take it from there.
Render and post
Render to MP4 and the video lands in your media library, ready to schedule to each network in its own format.
The editor, in detail
Tracks and a magnetic main track
Stack video, pictures, text, sound and effect layers. Close a gap on the main track and everything after it follows.
Keyframes and speed curves
Animate a layer over time with keyframes, and ramp a clip's speed up and down with a curve.
Colour, from exposure to curves
Exposure, contrast, saturation, HSL by colour band and curves, per clip or picture.
Masks, shapes and effect layers
Mask a layer, draw shapes with the pen, and put an effect on everything under an effect layer.
Templates with slots
Save a project as a template with slots for the footage and the text, so the next video is a matter of filling them in.
An AI for the repetitive part
Ask for “captions on every line” or “make it 30 seconds” and the AI edits the timeline. Every change is one step you can undo.
Nothing lost
Studio saves as you work and keeps the project's versions, so you can go back to an earlier one.
Post without exporting
The render goes straight to your media library and into a post, scheduled to each network in its format. No downloading and uploading again.
Studio comes with the Pro and Business plans. Compare the plans
Questions
What can I export?
MP4 video, and a PNG of any frame. Project files for other editors, such as XML or EDL, are not exported.
What resolution does it render at?
Up to 1080p, in 9:16, 4:5, 1:1 or 16:9. 4K and ProRes are not available.
Can I reuse a project for the next video?
Yes. Save it as a template with slots for the footage and the text, or duplicate it. Your templates sit next to the built-in ones.
Can my client review the video in SPREVA?
Not with a review link yet. Invite them to the workspace as a viewer, who can see everything and change nothing, or send them the render.
Which plan do I need?
Studio comes with the Pro and Business plans. Pro includes 120 minutes of exported video a month and Business 400. Every plan starts with a 7-day trial.
SPREVA for other work
- ClippersTen clips with captions from one long video.
- StreamersYour stream as clips on every short-video network.
- YouTubersUploads, Shorts and new videos from a script.
- PhotographersWhole shoots, posted as carousels on schedule.
- PodcastersA week of clips from every episode.
- AgenciesA workspace, a calendar and roles per client.
- Small businessesYour photos as Reels, posters and posts everywhere.